Learn how to perform a basic oil change at home with this detailed, step-by-step guide. Save money and maintain your car efficiently!
Why Change Your Oil at Home?
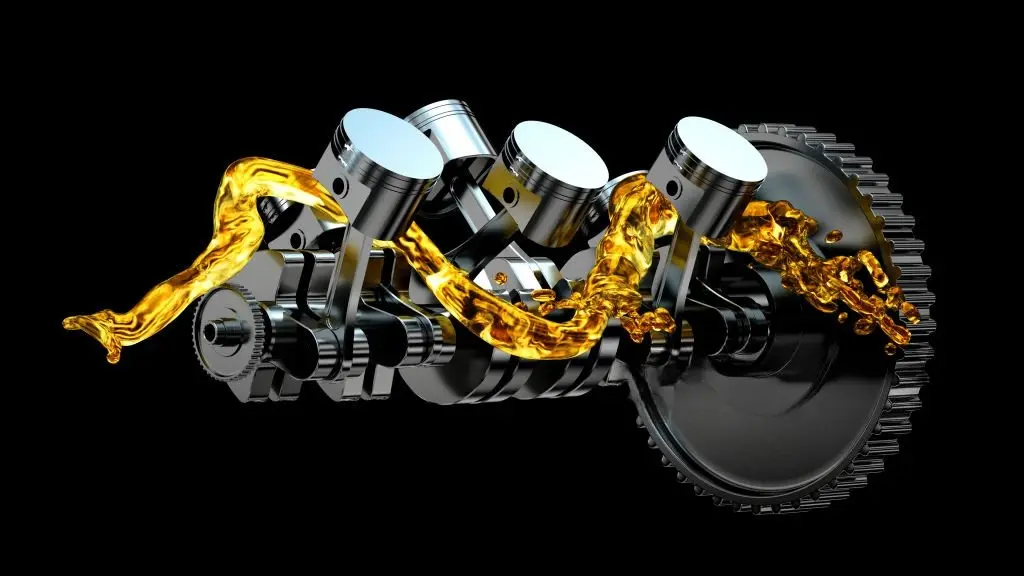
Performing a DIY oil change at home is not only cost-effective, but it also empowers you to keep your car in top shape. Regular oil changes help maintain your engine’s health, prevent wear and tear, and ensure smooth performance. In this step-by-step guide, we’ll walk you through everything you need to know about changing your oil at home—whether you’re a beginner or just looking to save money on maintenance.
What You’ll Need for a DIY Oil Change
Before diving into the oil change process, gather these essential tools and supplies:
- Motor Oil: Choose the right oil for your car’s make and model. For example, synthetic oil is often the best option for high-performance engines, while conventional oil may be adequate for older cars. Check your owner’s manual for the exact specifications.
- Oil Filter: Always replace your oil filter when performing an oil change. The best oil filter for your car depends on the make and model—brands like Fram and Mobil 1 are highly recommended.
- Tools:
- Wrench or socket set
- Oil filter wrench
- Drain pan (to collect old oil)
- Funnel for pouring new oil
- Car jack and jack stands (if needed)
- Gloves and safety glasses
- Rags for cleaning up spills
- New Oil Drain Plug Washer (optional, but recommended)
Step-by-Step Guide to Changing Your Oil
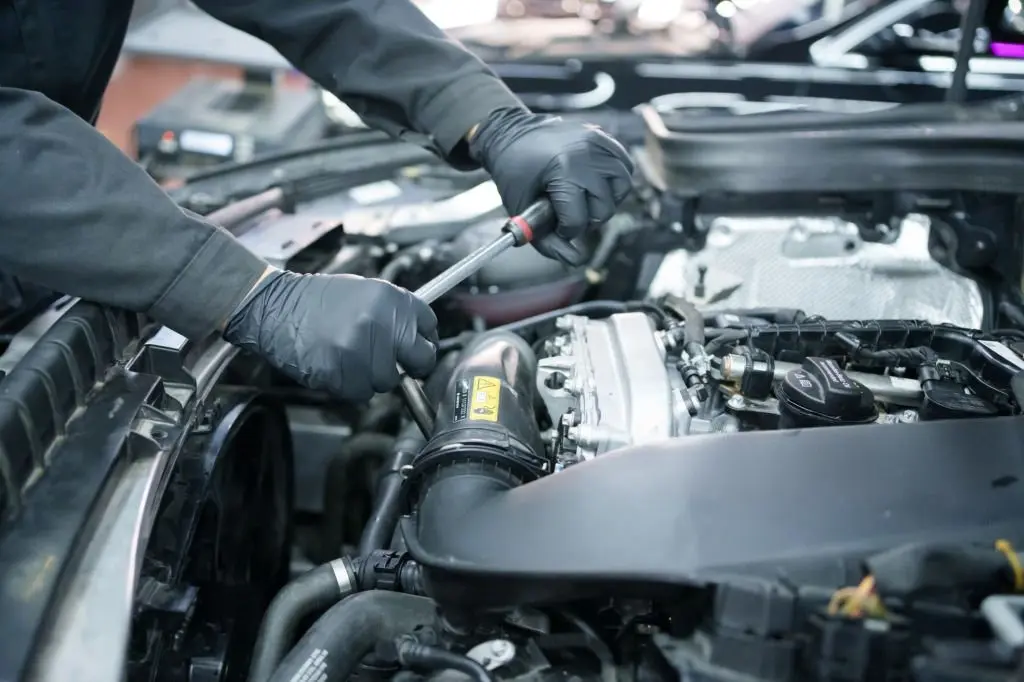
1. Prepare the Car and Gather Your Materials
- Make sure your car is on a level surface.
- Gather all the necessary tools, including your oil filter and motor oil.
2. Lift the Car (If Needed)
- If you need access to the oil pan underneath the car, lift your car using a car jack and secure it with jack stands. Always ensure the car is stable before proceeding.
3. Drain the Old Oil
- Position the Drain Pan: Place the drain pan under the oil pan.
- Remove the Drain Plug: Use your wrench to unscrew the oil drain plug. Let the oil drain fully, which can take 5-10 minutes. Make sure to dispose of the used oil properly at a local recycling center.
4. Remove and Replace the Oil Filter
- Use an oil filter wrench to remove the old oil filter.
- Lubricate the rubber gasket of the new filter with a bit of fresh oil before screwing it in place.
- Tighten the new filter by hand—don’t over-tighten.
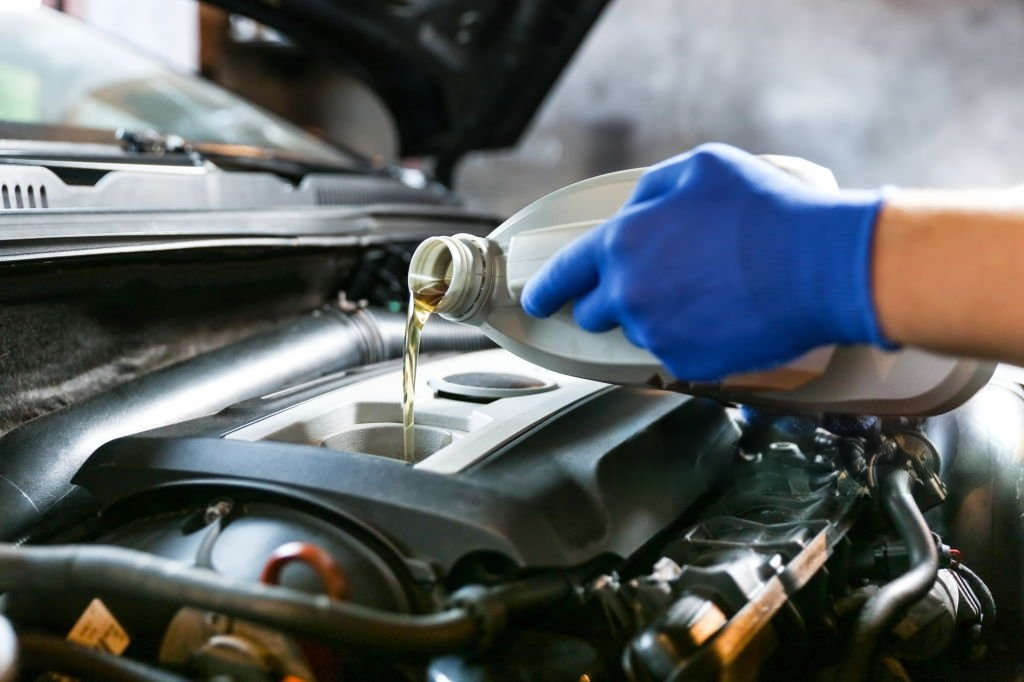
5. Refill with Fresh Oil
- Locate the Oil Fill Cap: Unscrew the cap on the top of your engine.
- Use a Funnel: Pour the fresh oil into the engine slowly. Be sure to add the correct amount as per your vehicle’s specifications.
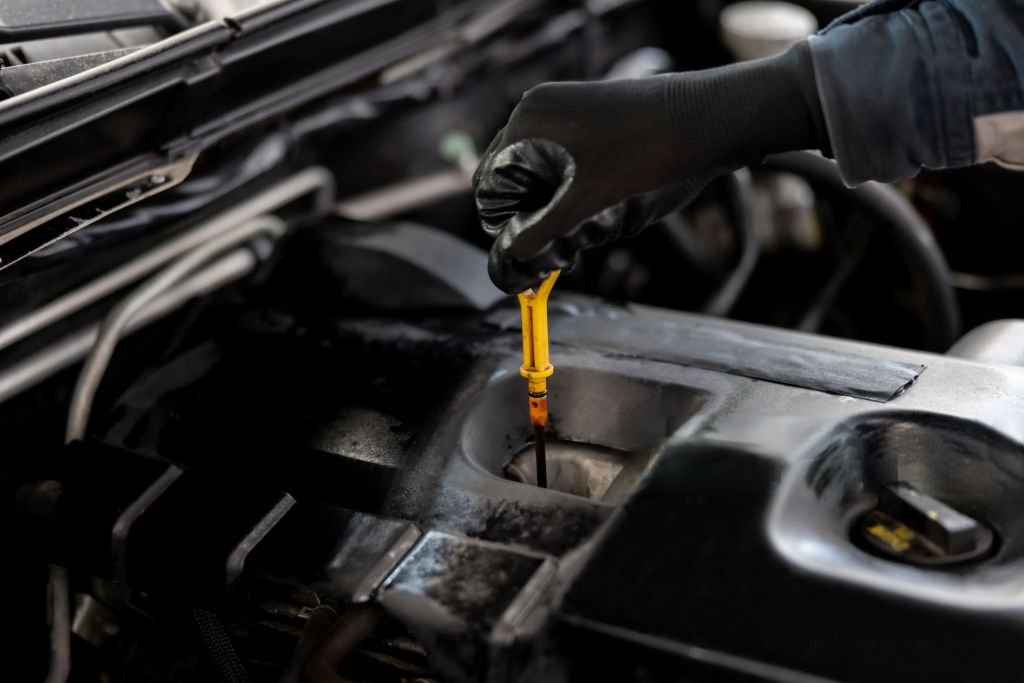
6. Check for Leaks and Oil Level
- Start the car for a few minutes to circulate the oil. Check around the drain plug and filter for any leaks.
- Turn off the engine and use the dipstick to check the oil level. Add oil if necessary.
7. Dispose of Old Oil Properly
- Never dispose of used oil down the drain or in the trash. Find a local auto shop or recycling center to dispose of your old oil and filter.
How Often Should You Change Your Car’s Oil?
The general recommendation for oil changes is every 3,000 to 7,500 miles, depending on the type of oil used and your car’s model. Always check your car’s owner manual for the manufacturer’s recommended oil change intervals.
Common Mistakes to Avoid During a DIY Oil Change
- Not Tightening the Filter Properly: If the oil filter is not tightened enough, oil could leak out.
- Overfilling Oil: Adding too much oil can cause engine damage. Always check the oil level before driving.
- Not Replacing the Oil Filter: Failing to replace the filter can result in dirty oil circulating through your engine.
Tips for a Successful Oil Change
- Use the Right Oil: Always choose the best oil for your specific car model. Consult your owner’s manual or visit an auto parts store for recommendations.
- Clean the Area: Wipe away any spilled oil or dirt to prevent contamination of the engine and environment.
- Use Safety Gear: Always wear gloves and safety glasses to protect yourself from hot oil and sharp parts.
Take Charge of Your Car Maintenance

Now that you know how to perform a basic oil change at home, you can keep your car running smoothly and save money on service bills. With a little practice, you’ll be able to perform oil changes with ease and confidence. For more DIY car maintenance tips, check out our guide on how to choose the perfect gadgets for your car maintenance.
What Makes a Reliable Car Care Partner?
Elaborate The Future of Cars: How the Automotive World is Evolving
Have you tried doing an oil change yourself? Share your experiences in the comments below! If you found this guide helpful, don’t forget to share it on social media with friends who might need a hand with their car maintenance!
Leave A Comment